Apples
Anishinaabemowin: bishiimin(ag)
Ojibwe: mishiimin
Summary
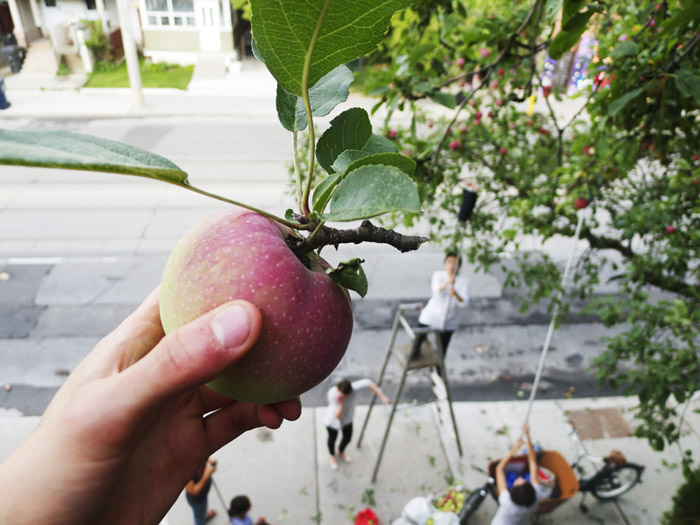
Apples come in all sorts of shapes and sizes , but a general rule for picking apples is if you cut them open, and the seeds are brown – they’re ready to go! Apples should be easy to remove from the tree without pulling.
Jump To
Average Ripening Timeline: late July to late October
- July
- August
- September
- October
Ripeness Indicators
- Color When Ripe: red, yellow, green, or a combination of colors
- Feel & Texture When Ripe: hard to the touch, but is crisp and juicy inside
- Taste & Smell When Ripe: texture is not mealy or astringent, flavour is sweet and sour, apples should be tasty – test often!
- Underripe if…very difficult to remove or twist from the tree, small in size (less than 2in diameter), seeds are still white/ light in color
- Overripe if…flesh becomes brown and/or mushy
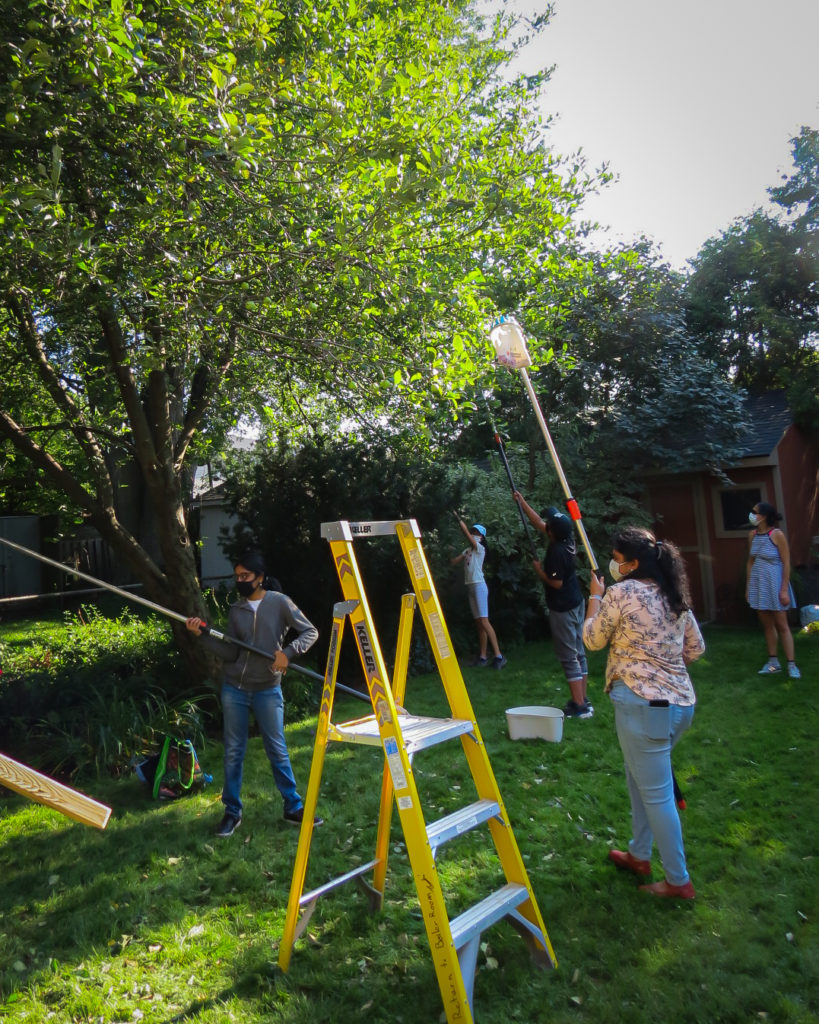
How to Harvest
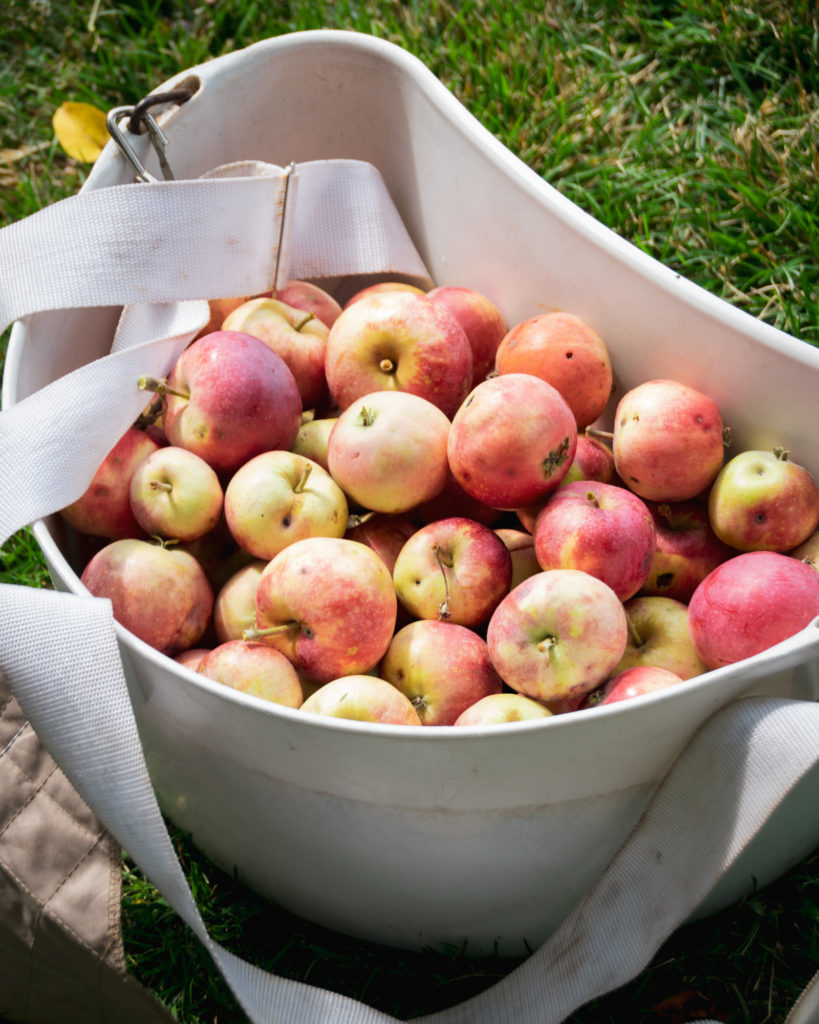
Average Yield: 50 to 300 lbs
- If picking by hand, turn fruit upside down & twist. Use picking poles with larger trees.
- Never force or pull apples off the tree. Apples bruise very easily so be gentle when placing the apples into their storage containers.
How to Store and Eat
Storing
- Room temperature: Apples store for a long time at room temperature (out of direct sunlight)
- Fridge: Apples can pick up other food flavours in the fridge, so keep them separate in the crisper drawer
- Freezer: Wash, peel, core, and slice apples. Freeze on a single layer on a baking sheet, then transfer to a bag or container. Best used for baking and cooking, and can be used without thawing. Apple sauces and juice can also be frozen. Use within 6 months.
Ideas for Eating
Eating fresh; add to salads; baking; sauces; cider/juice; apple butter; dehydrated fruit leather
References:
- Indigenous names: Ojibwe People’s Dictionary; Anishinaabemowin Theme-Based Resource Book